GbJade Networks
ReSieve Help File
Note: For RSF model 1300, 1400, 1600. If configured with
redundancy, make your config on the Master device. BACKUP
devices will be over written.
Resetting RSF to its factory defaults.
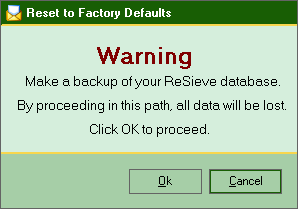
Click menu "Reset to factory default" or ctrl+c , ctrl+e. A warning window with
a what to do before you reset your device.
A security confirmation window will be shown in case you accidently clicked the
OK button. There is no way to stop the process after clicking the YES button in
the confirmation alert window.
Note : If RSF has BACKUP devices configured. After the confirmation
process, all BACKUP devices (known on the MASTER device) will be reset
to factory defaults too.
This process will reset ONLY the filters to its defaults, the rules that
you have created will be lost.
This procedure will NOT reset the IP address of your device. |
This procedure may take a few moments depending on your network speed. Please
be patient.
The MASTER nor the BACKUP devices will be rebooted after the reset process
terminates.
You will not be disconnect either.
You can immediately start reconfiguring your device as soon as the process is
finished. The software will give you back access by enabling the main menu.
Full reset to factory defaults
For a full reset to factory defaults of your device including IP address. Reboot
your device and watch for the GBJade welcome screen. You have only 1 second to
select the "Reset to default". Don't want to miss it? Pound the down arrow key
repeatedly before the welcome screen appears. A menu will show up, you will have
the choice of continuing the boot process or resetting the device to its factory
defaults. The boot process will stop and remain in this state until you hit the
enter key.

Search and Rescue
This tool is brought to you so that you can view the original email.
Even if RSF has a very low error percentage, false positives may occur.
These original emails will remain in the database/storage for the number of days
(default 2 days) that you have selected through the "config" window. Press
ctrl+o, the config window will appear.
This rescue window will search within
the storage directory and RSF database. The archive directory will be ignored.
Leaving the "Find Email" text box empty will
give you the most verbose output.
To view the wanted file,
simply click on it and click the "View" button or double click
it. This will display the source of the selected email in a
new window.

Creating a backup file.
Restoring a backup file.
Before you
can use this tool, backups must been done first. The backup
file will then appear in the main window.
All your backups
will be stored with the following name schema. ReSieve - the
date - the time.bin
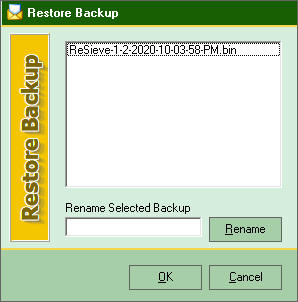
To restore a backup file, single click
on the desired file, once selected you can do 2 things. First
you can rename the file at your convenience or click the OK
button to restore the MASTER device.
| Note : Restoring backup files must be done on the
MASTER device. Backup device are always over written
by the MASTER. Be warned. |
To remove backup file from the list, simply double click on
it. A confirmation window will appear.
The deleted file
cannot be recovered in any way or form.

Backup email files.
This module allows you to move the
email files to a backup directory or device. At the same time freeing disk space
on the RSF device.
| Note : Removing your email files from the RSF
device must be done every now and then. Not doing so
might cause some losses in email files. Once the
archive directory is full, the upcoming files will be
automatically deleted. |
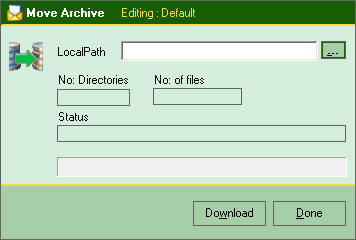
First you will have to tell the module where you wish to
send your email file to. This can be a local directory like
C:\SomeDir or a network path like so,
\\10.0.50.12\archive
or
\\Hostname\SomeSharedDirectory. Click the "Download"
button to proceed.
The number of files that will be
downloaded is shown in the "No: of file" box. The
download time will depend on the number of files, the size of
each and the speed of your network.
A progress bar will
show you the status of your download. Make sure you have
enough disk space to receive all email files.
| Note : The Backup Archive module has been built so
that files will never be overwritten. If this module
encounters 2 files with the same name, the last will
be renamed and kept in the same directory representing
the tags name. |

Updating Backup Device
The IP address of the new RSF device must be added
with the "Redundancy" module prire to use this module. This
will add the IP address of your new RSF device in the drop
down box.
Newly added backup device will be updated in 1
go. Click menu Backup/Update Backup Device.
What this
module does is uploading all the rules created on the Master
device. The default group and all the groups that have been
created will be started too.
| Note : Do not create filtering rules on Backup
Devices. Backup devices are constantly being over
written by the Master device, rendering these rules
unavailable/lost. There is no way to recuperate the
lost rules. |
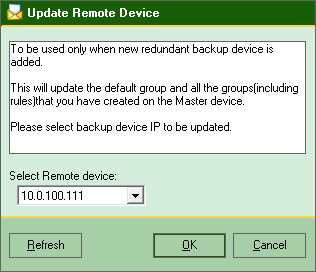
Select the IP address from the drop down box and click the
OK button, that's all there is to it.
Optionally, connect
to you new backup device and verifiy if all has been done
properly.

|


